VIP Car tutorial : Aoshima Admiration Toyota Celsior 1/24. | Model Kit Index
This tutorial is for a Toyota Celsior VIP car, in this case, the Aoshima Admiration Celsior. In every case, comments refer to the photo directly above the comments. I've tried as much detail as possible within both the photos and descriptions, so if you're reading something you already know, just skip ahead.
Gallery of completed Kit.
Part 4 : The chassis
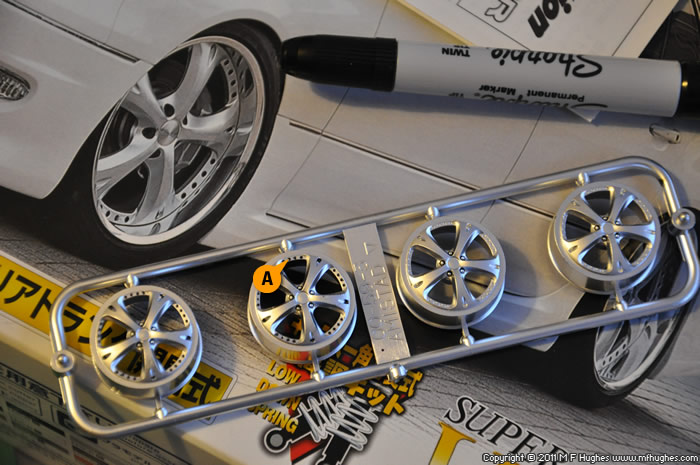
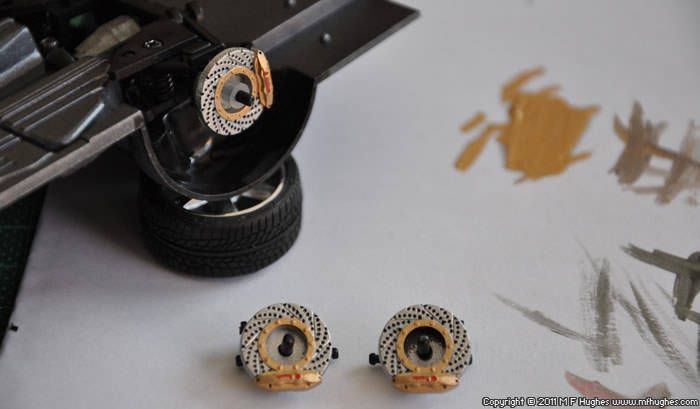
Using the box as a reference, the Amistad V wheel's split-rim bolt holes are coloured black with the thin tip of a Sharpie. As at (A). You can see here the two completed wheels are on the left and the two uncompleted wheels are on the right. It makes a subtle but noticeable difference in realism.
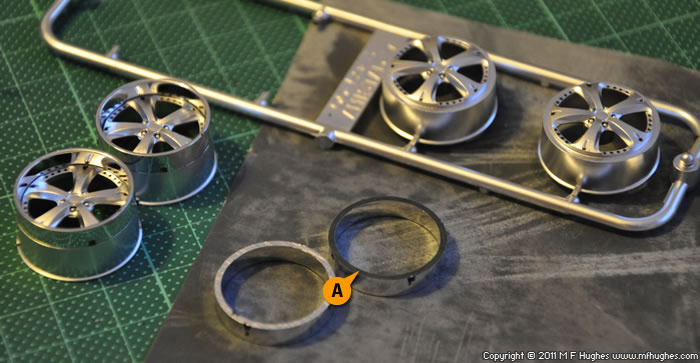
The backside of the chome wheel rim is sanded to remove the chrome to provide better adhesion to the main part of the wheel (A).
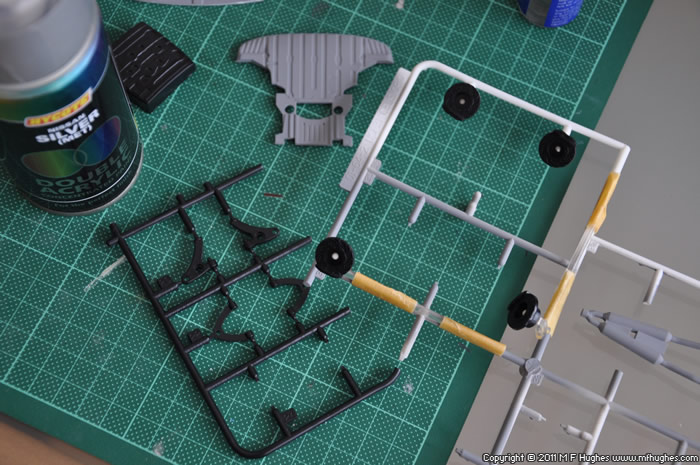
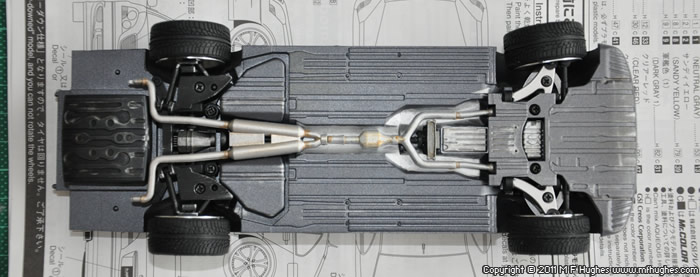
Various underside parts are mounted on a frame for spraying. I use Hycote's Nissan Silver Metallic acrylic for this - because it's the only silver spray I have at the time. As with the interior, I prefer to spray paint as much as possible instead of brushing it on.
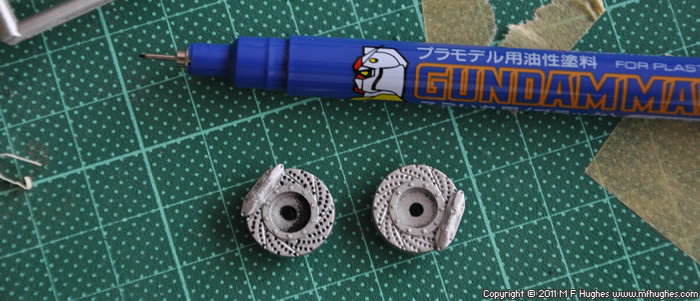
The Celsior's drilled braked discs are coloured using a Gundam marker, which has a finer nib than the Sharpie. The completed brake disc is on the left.
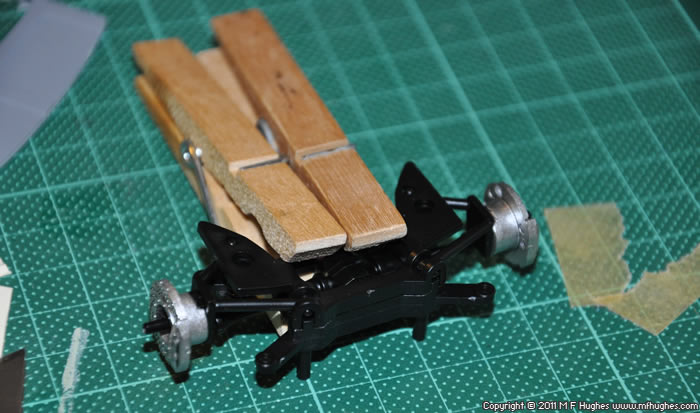
The Celsior kit has the same undercarriage as the
Crown Zero, just like in real life. So I'd had some experience here. The adjustable suspension contains several springs trying to force the assembly apart so a liberal amount of glue was used and clothes pegs left for several hours so it could dry and stay together.
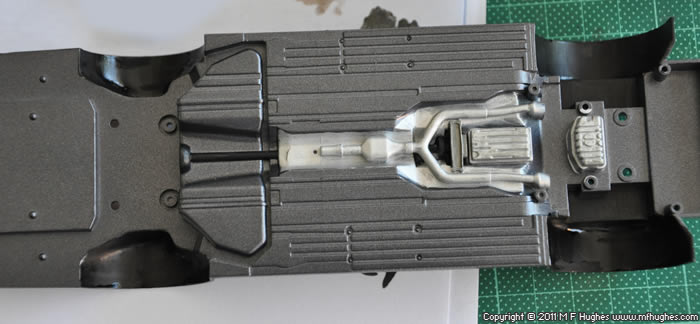
Meanwhile the underside is spray painted the same colour as the body (Halfords Citroen Meteor Grey), with some details filled in using a brush and Humbrol enamel.
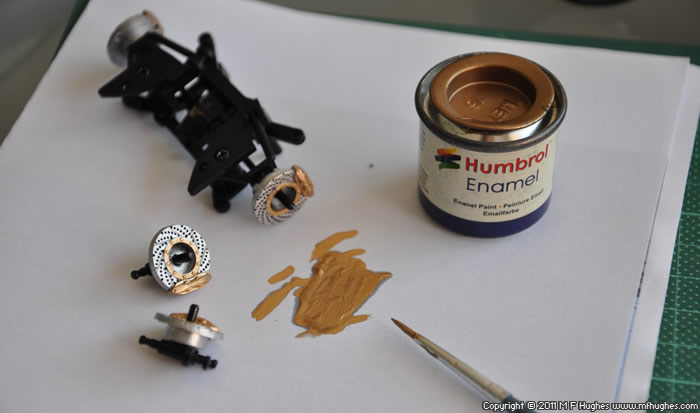
The brake calipers and rims were painted with Humbrol brass - it's a better contrast than the lighter gold they instructions suggest.
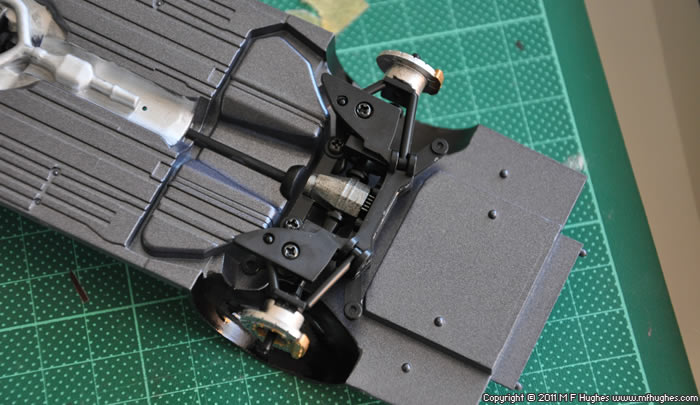
The rear suspension was mounted to the chassis and screwed in place. The screws can adjust both the ride-height and camber of the wheels. More on this topic later.
The red brake caliper Brembo logos are painted with Humbrol enamel.
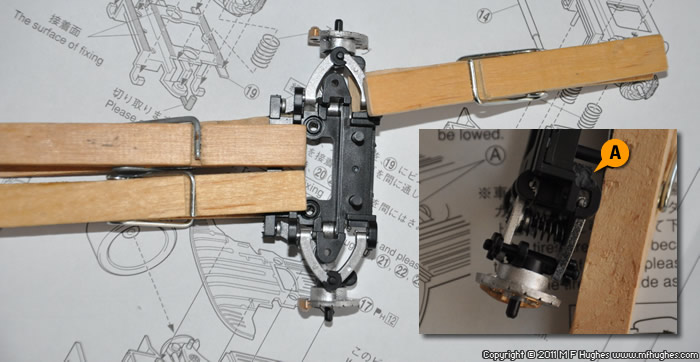
The Celsior's front suspension is no less tricky to assemble, as it also contains springs trying to force it apart. I snapped one piece which was the re-welded with the trusty hot screwdriver tip (A).
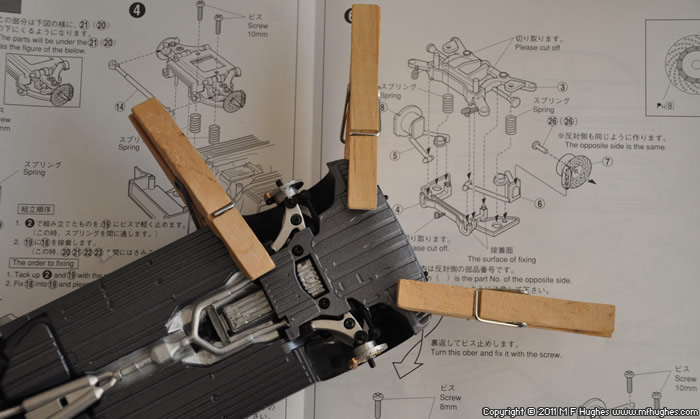
The skid plate and front suspension are mounted to the chassis. More pegs are needed, the springs want to force everything apart.
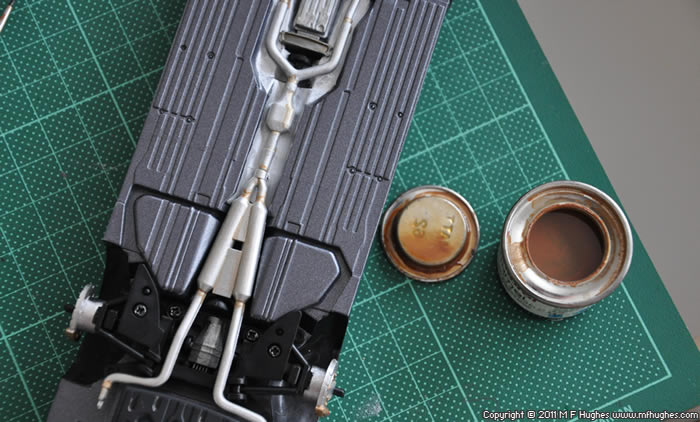
I used Humbro's Matt Leather paint to simulate the rust on the exhaust system joints. It has been thinned until about 1:10 of it's original consistency. It took a long time to dry being comprised mainly of thinners and not paint. It was also very shiny however with the next step, this is not a problem.
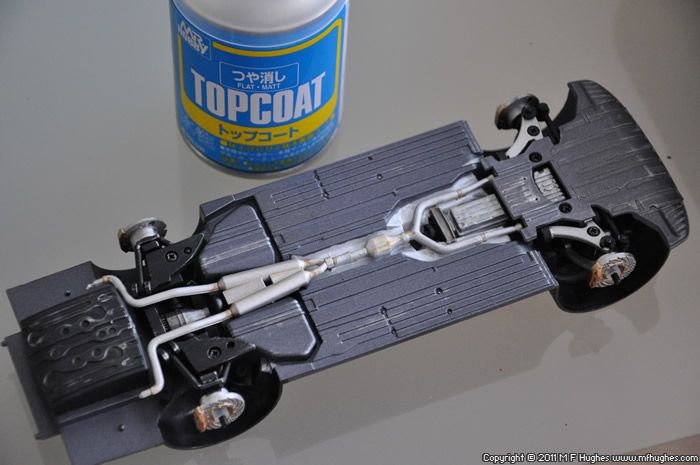
The entire underside of the car was not sprayed with Mr Hobby's Flat Matt topcoat. This brings a more used appearance to the underside of the car, and at the same time flattens the unrealistically shiny rusty exhaust joints from the step above.
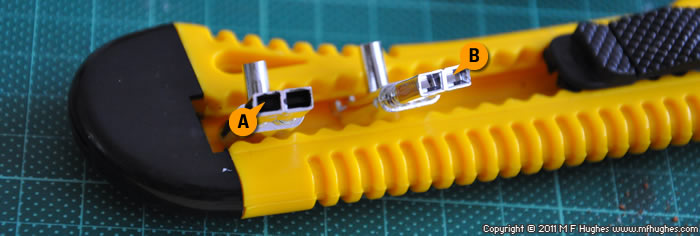
The exhaust's back boxes will not be glued in place until the car is fully assembled, but this seemed like a good time to paint the insides black. It's another subtle cue to realism. Compare the completed on the left (A) with the unpainted on the right (B)
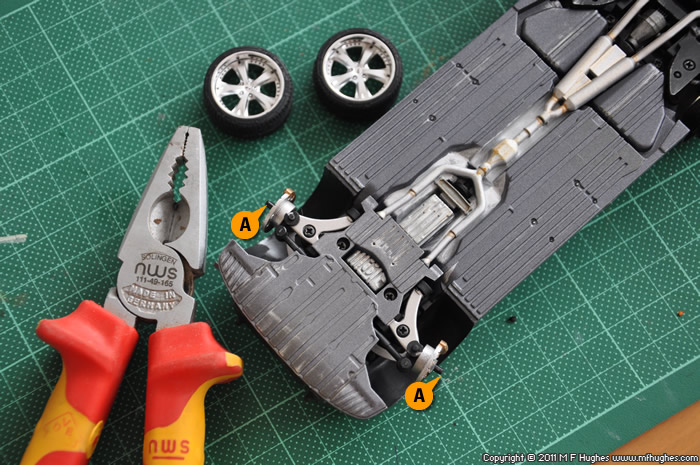
Once I try the Amistad V wheels on the assembled chassis, it turned out the axles were too long (as shown at A) and the wheels would not stay on, so I clipped these with some pliers.
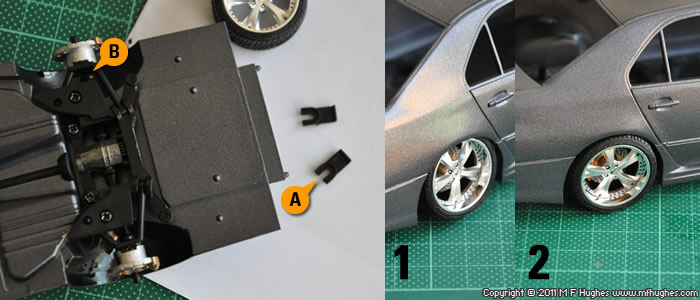
Possibly one of the most "VIP" things you can do to a car is lower the ride height and tilt the wheel camber inwards, as at (1). However I'm not a fan of this - to me it just makes the suspension look broken, or as if the car has a large bag of cement in the boot. I prefer the stance shown at (2). The Aoshima kit comes with two blocks to inset (parts (A)) which fit into the suspension at (B), and prevent camber from occuring either when the screws are tightened or by the natural weight of the car.
After some light drybrushed weathering is done on the underside and fuel tank, the wheels are attached and the underside is complete except for the exhaust back boxes, which will be added later after the body is on.
All content, text & graphics Copyright © M.F.Hughes 1995 - | Home | More Kits